Hello and welcome to my retexturing guide! This guide will show you how to make your own weapon textures and share them with the modding community!
Note: I'll be doing a melee weapon because is easier to identify the parts, but this can be done to guns too!
· Getting started
To start doing your own designs, you will need a few programs:
·Any program that can open and edit .dds files, like Photoshop with the NVIDIA Photoshop plugin, or a free option like GIMP.
·A program to decompile .bundle files from assets, I highly recommend Diesel Bundle Viewer.
·Obviously PayDay 2
· Obtaining .texture files
Payday 2 weapon textures are on .texture files. These files are identical to a .dds file, but the game only reads .texture files.
There are more than one .texture file per weapon, like the first person texture (the one we'll be editing) and some others like the gui's and third person's.
We'll start searching for the .texture file using Diesel Bundle Viewer.
Open up DieselBundleViewer, you'll see something like this:
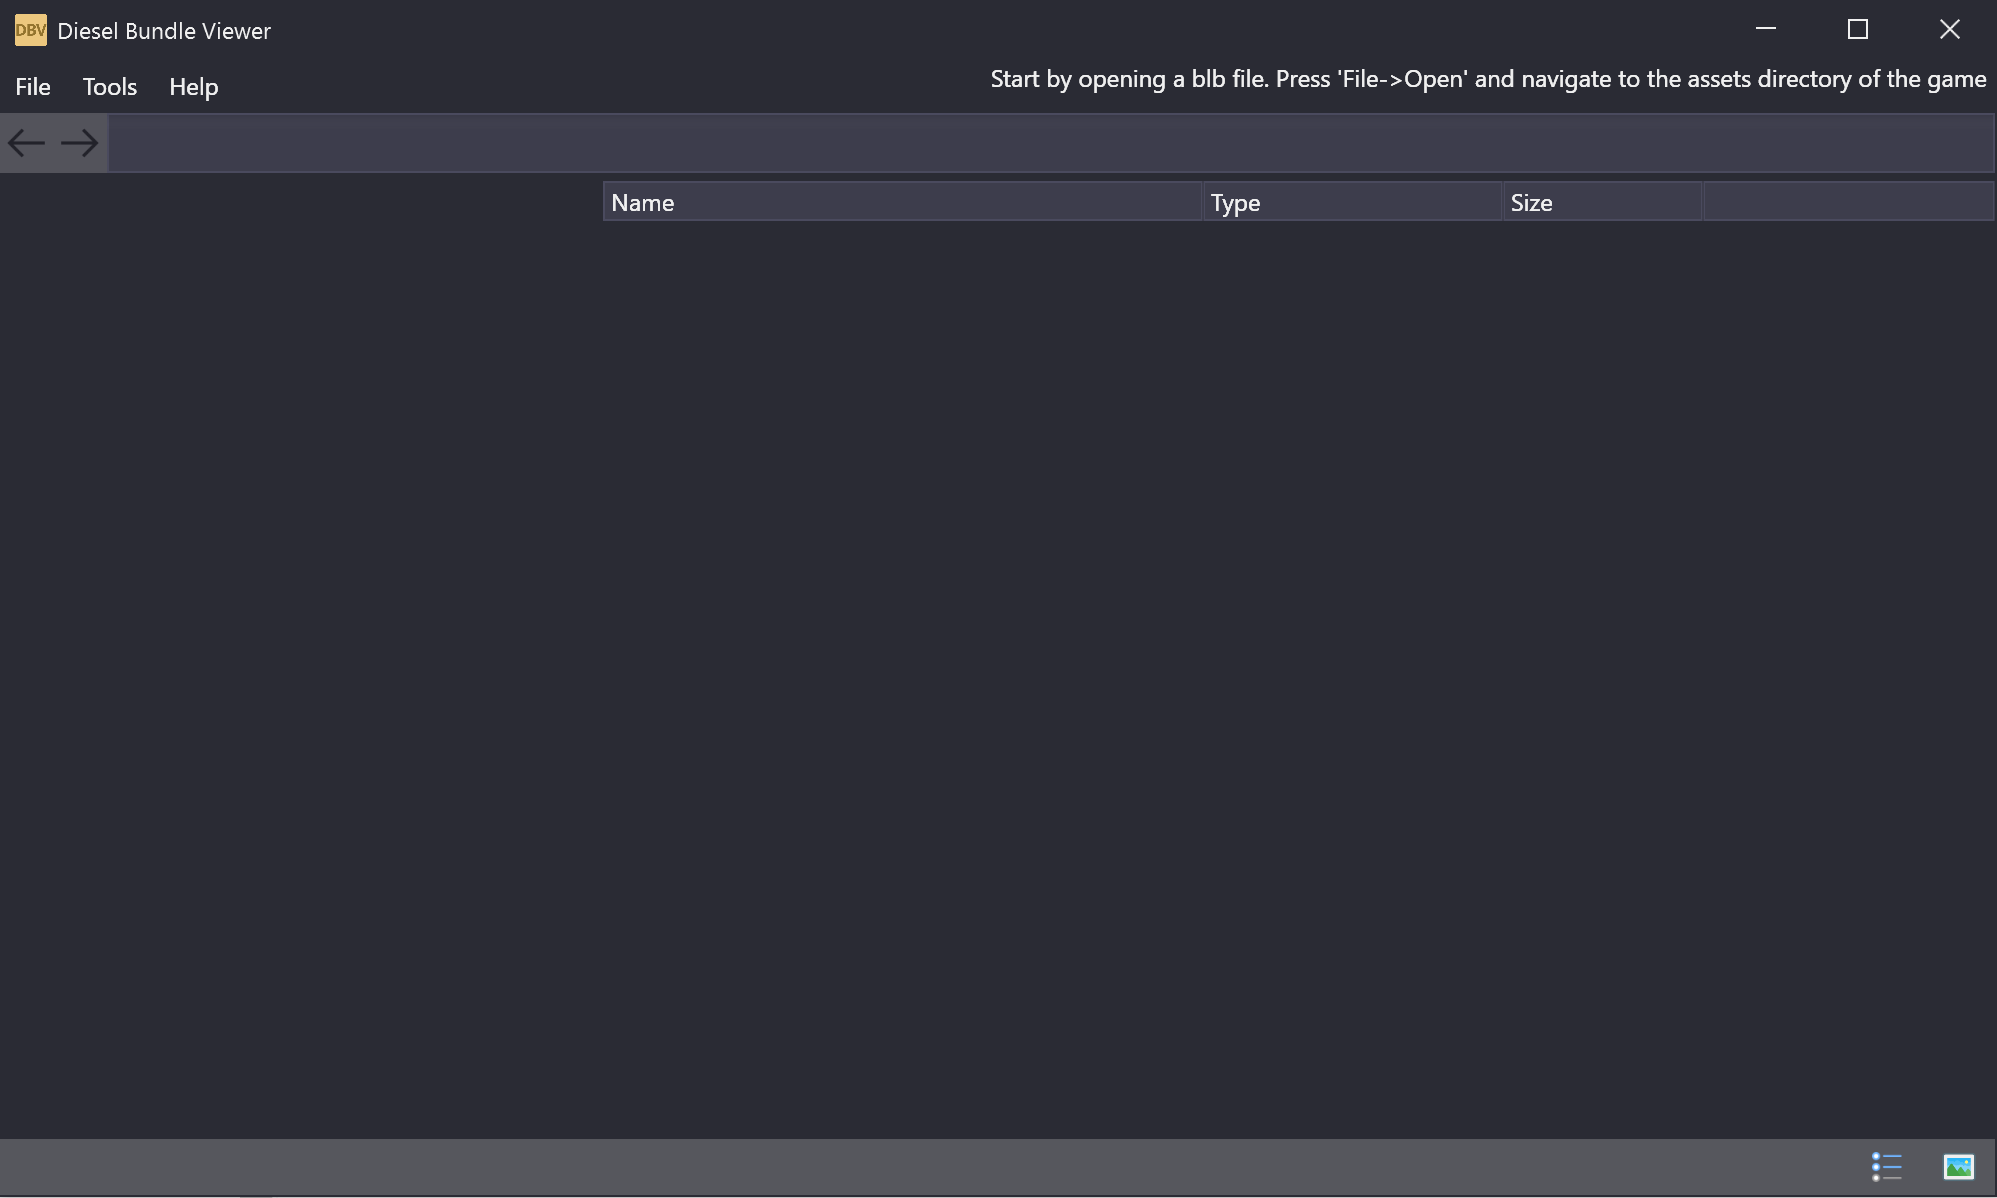
Click on File, and then on Open.
Navigate to your Payday2's assets folder, usually located in C:/ProgramFilesx86/Steam/steamapps/common/PAYDAY2/assets
If you selected a different folder to install payday 2, search for that one instead.
Inside this folder, you will see 3 files, select the one called "bundle_db.blb" and open it:
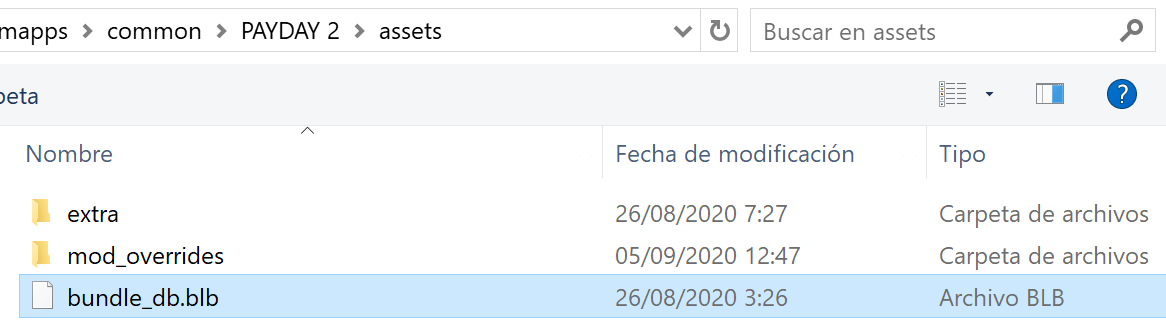
If you have already used DieselBundleViewer and selected the "bundle_db.blb" file, you will be able to open it faster clicking on File > Recent Files.
DieselBundleViewer will load all the assets files, this may take a while.
When it finishes loading, you'll see something like this:
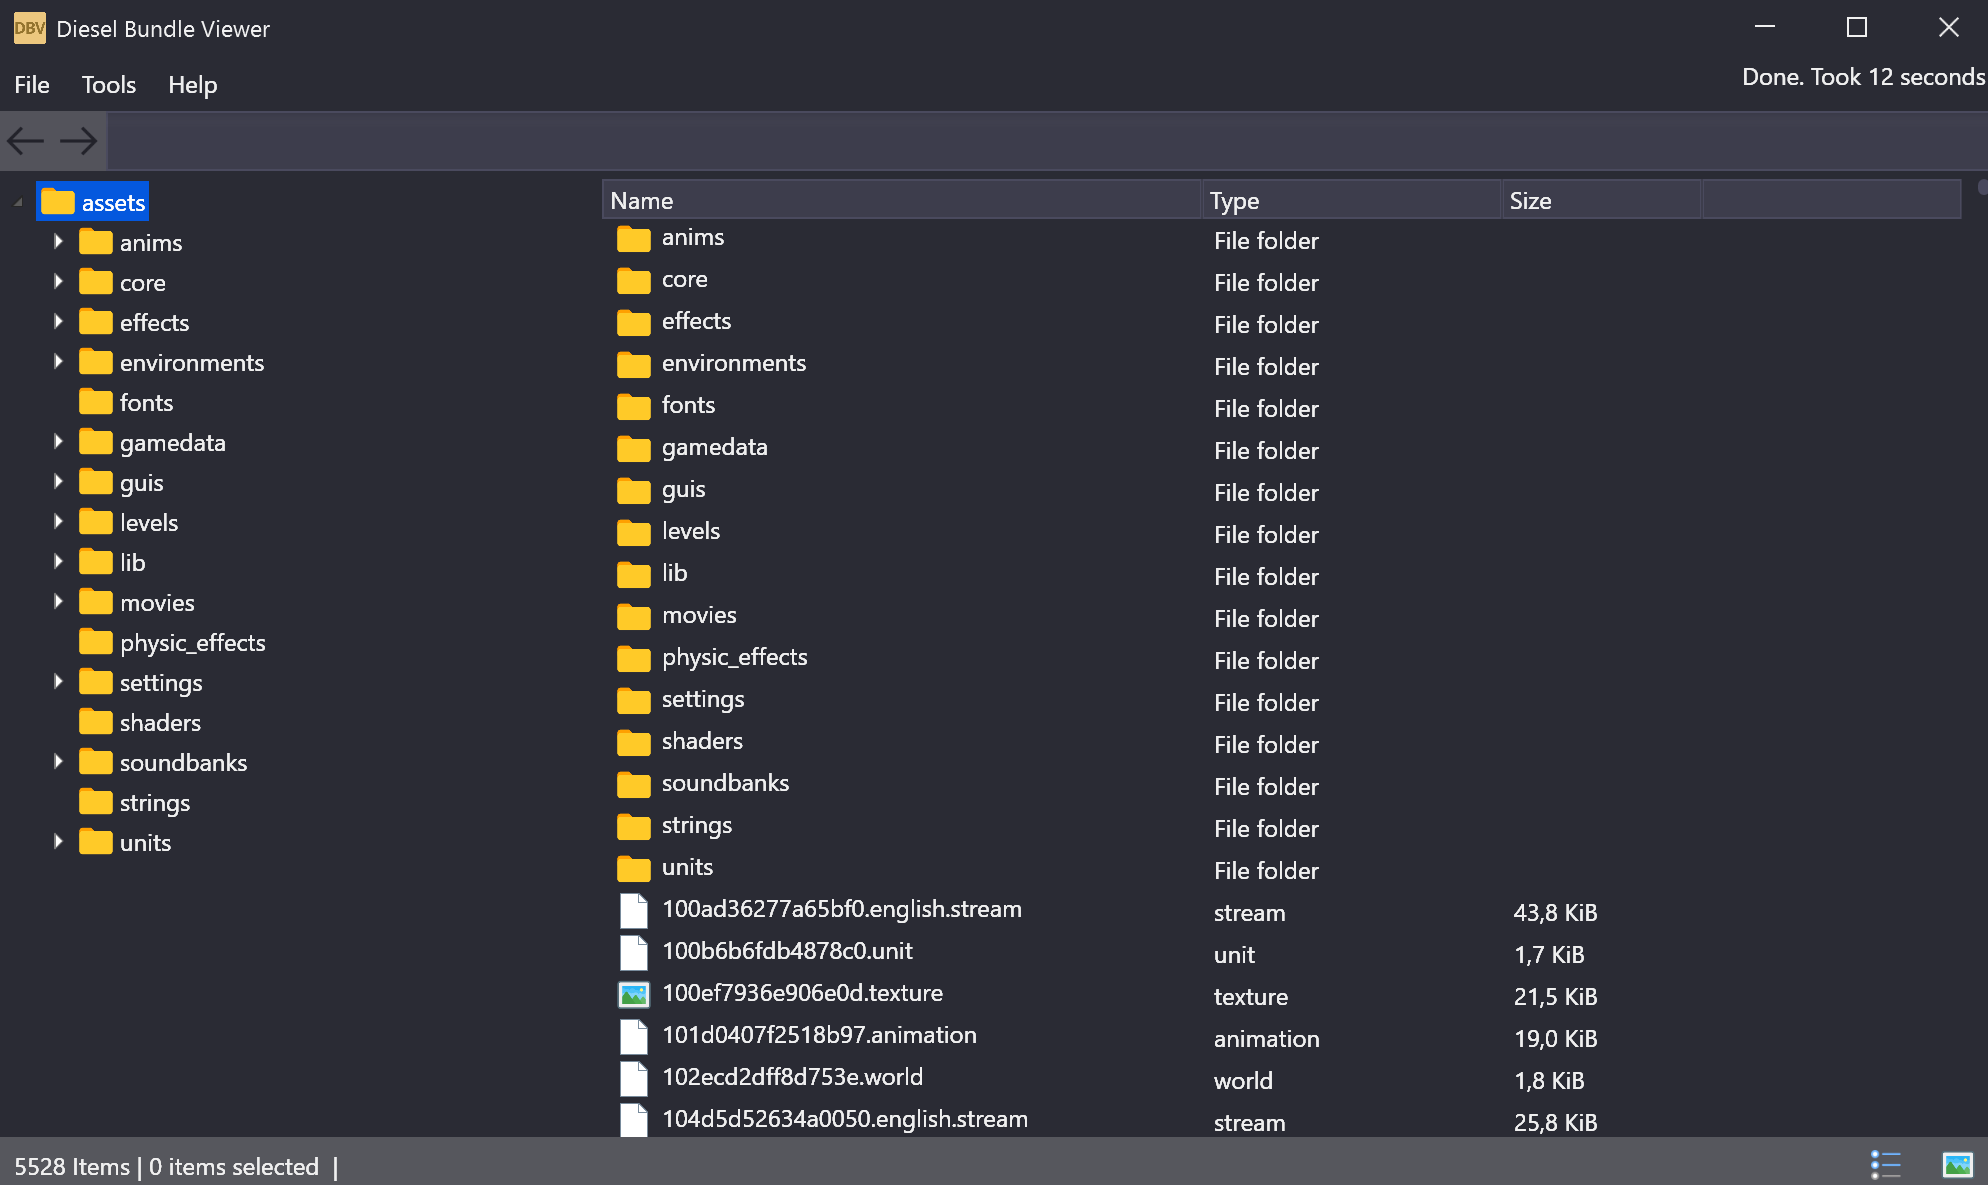
Open the "units" file, and now you can easily find the weapon's texture you wish to edit simply by clicking Tools>Find and inserting the weapon's name
Important: Ingame weapon's names will almost never match the file name, you can find the file name in Payday 2's Wiki and searching the weapon's name.
E.g, the utility knife is called "boxcutter" in the game files: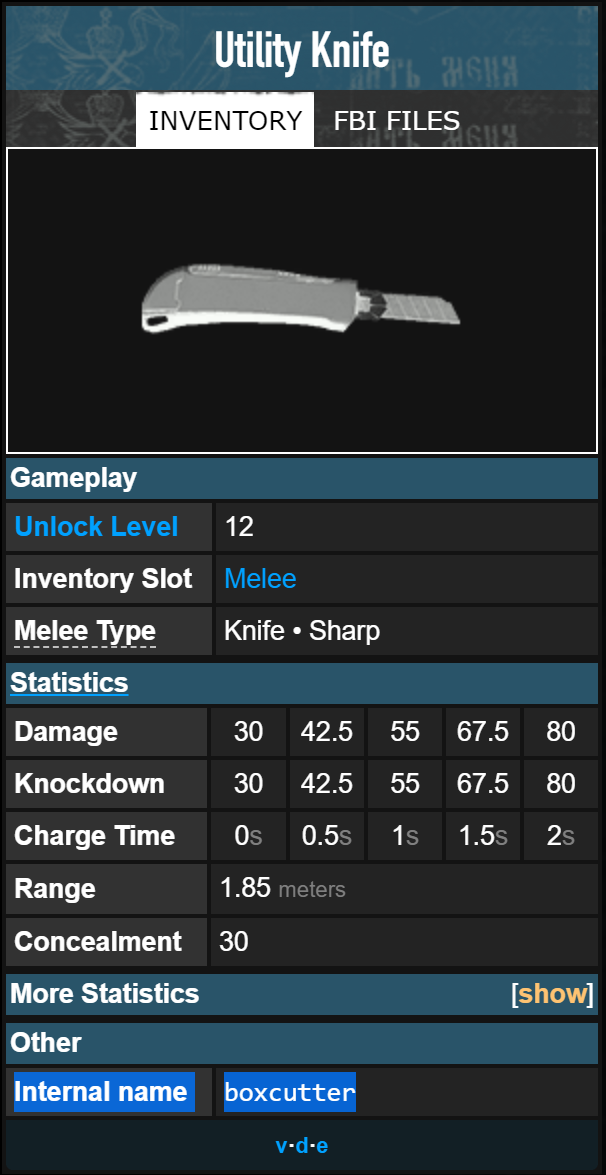
In some rare cases, the texture file won't match neither the ingame name nor the wiki's name. One example for this is the ingame named Ice pick, wiki named "iceaxe", and actual file named "topaz2000".
In this guide we will be editing the Ursa Tanto Knife:
We start by searching the file name in the wiki, called "kabartanto". If there are two words, I recommend searching for then individually, as the name in the file is often separated by underscores. We'll look for a file usually named wpn_fpsmel(weapon name)_df.texture.
It's very important to search for the file that has fps and df in its name, otherwise you will use a different file and the retexture wont work. Also notice that the path should start with "units" and not "guis".
In this case, the file is called wpn_fps_mel_kabar_tanto_df.texture.
You can check the texture by opening the file. Right click the file and save it on a different folder, I recommend doing this on the desktop and deleting the file when you have finished using it. Once you have saved the file, change the file type to .dds (simply rename the file from .texture to .dds) and you will be able to use it.
· Editing the texture
Now, proceed to open the file in your editing program of choice. I'll be using Photoshop.
Once you have opened it, you will see the weapon's texture in 2D, and you will be able to edit it.
Having the game opened and viewing the weapon ingame is something essential for me to have an idea on how the texture will look like.
You will also notice there are some textures extending more than whats being used ingame, you can use these "extensions" as room for error and not messing up other parts of the weapon
I'll make a simple design for this tutorial, but you can spend all the time you want to make the perfect design!
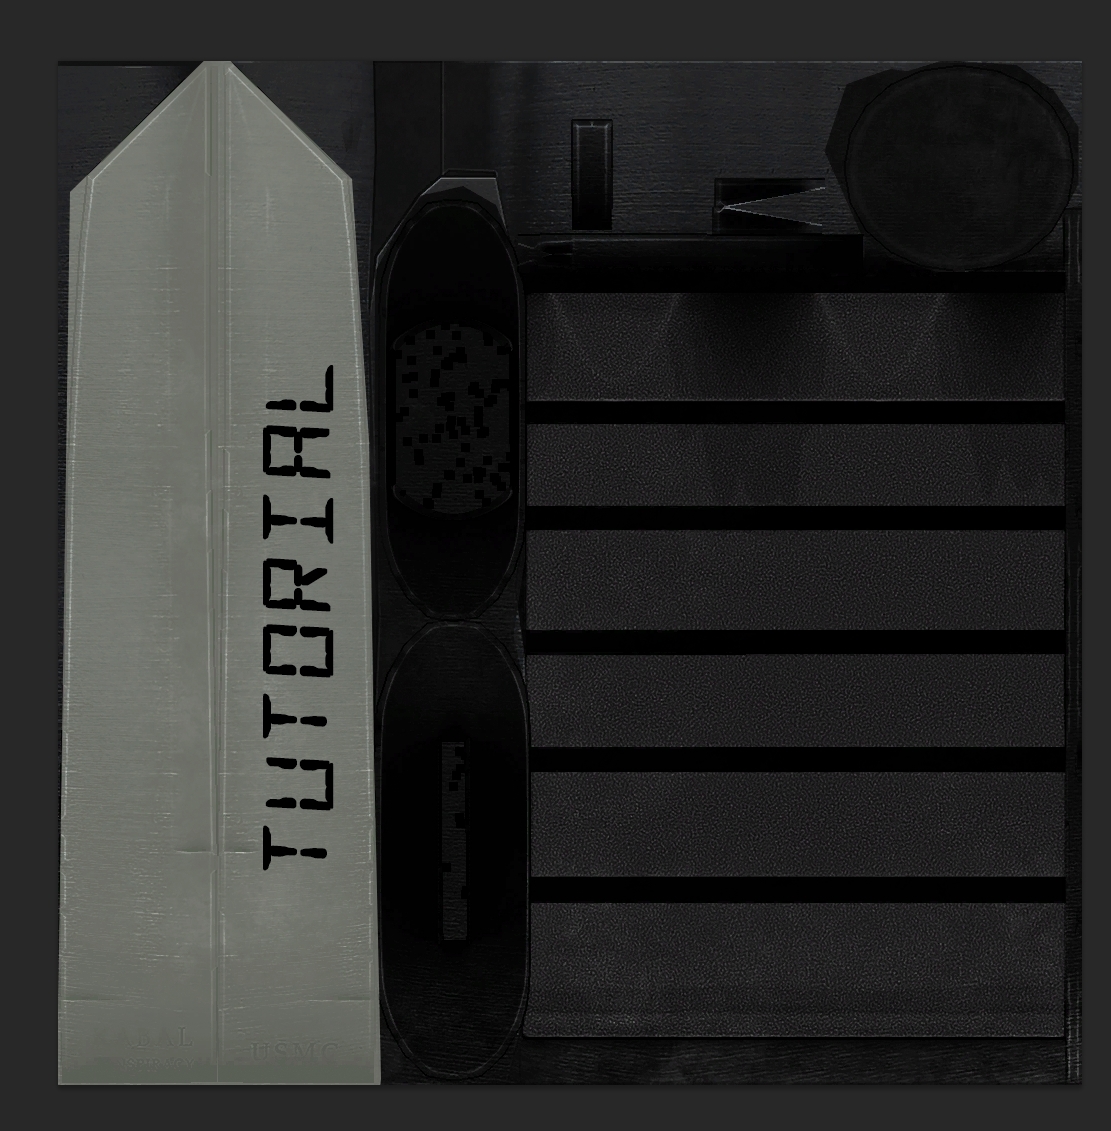
You will notice there is an Alpha channel, this channel is used to set the reflectivity of the weapon, being black the less shiny and white being the most.
I recommend using gray-ish colors and not too saturated ones or even not editing this so the weapon ingame doesnt show up way too shiny or almost not reflective.
Once you have finished editing the texture, save it as .dds file. If you're using the Photoshop extension, use the setting "BC2", otherwise the texture won't show up.
I suggest not changing the other settings unless you know what you're doing. 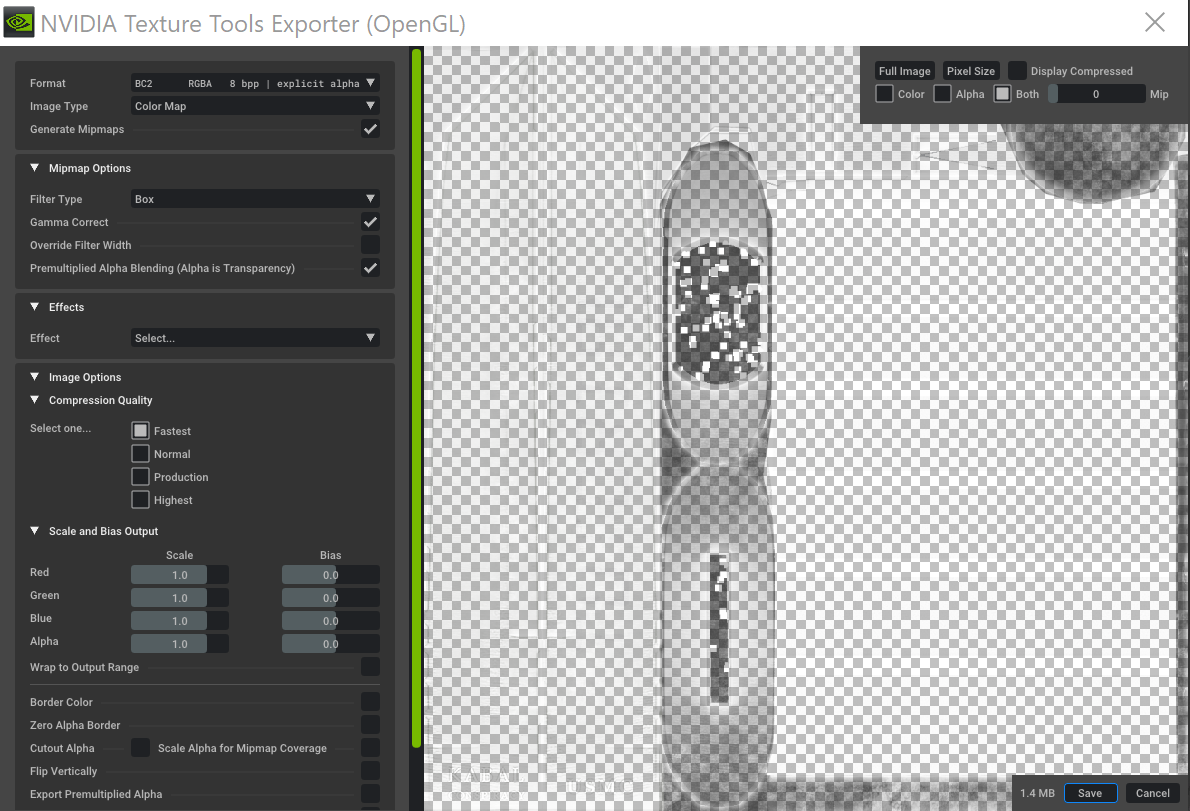
When you're done, you will have a .dds file that you will need to change back to a .texture file (rename it back to .texture)
Sometimes you wont be able to see the .dds extension neither change it. If you have this issue, go to your file extension settings and uncheck the option "Hide file extensions of known file types." (Option's name could not match because my system's language isnt english, but you get the idea)
Save this file for later.
· Adding the design to the game
Go to your Payday 2 assets folder (as I said commonly located in C:/ProgramFilesx86/Steam/steamapps/common/PAYDAY2/assets), and open the file "mod_overrides". Create it if you dont have it.
Now you will need to copy the exact same path where you took the texture from (you can see this by hovering the mouse on the texture file you saved at the start of the guide on DieselBundleViewer):
Create a new folder inside called however you want (I recommend using a name for the design)
Open this file and create a file called "units" Be careful to not misspell any of this or otherwise the retexture won't show up ingame
Open the units file and create another file, this will be the dlc's name, in this case is "pd2_crimefest_2014"
Open the pd2_crimefest_2014 folder and create another folder called "oct22"
Open the oct22 folder and create another folder called "weapons"
Open the weapons folder and create another folder called "wpn_fps_mel_kabar_tanto"
Open the wpn_fps_mel_kabar_tanto folder and drag the .texture folder you modified in Photoshop/GIMP
You should end up with the wpn_fps_mel_weaponname_df.texture in the next path:
[...]/PAYDAY2/assets/mod_overrides/customfoldername/units/pd2dlcname/extrafolders/weapons/wpn_fps_mel_weaponname/
You can name this folder however you want
Extra folders may be between the dlc name and weapons, but not always.

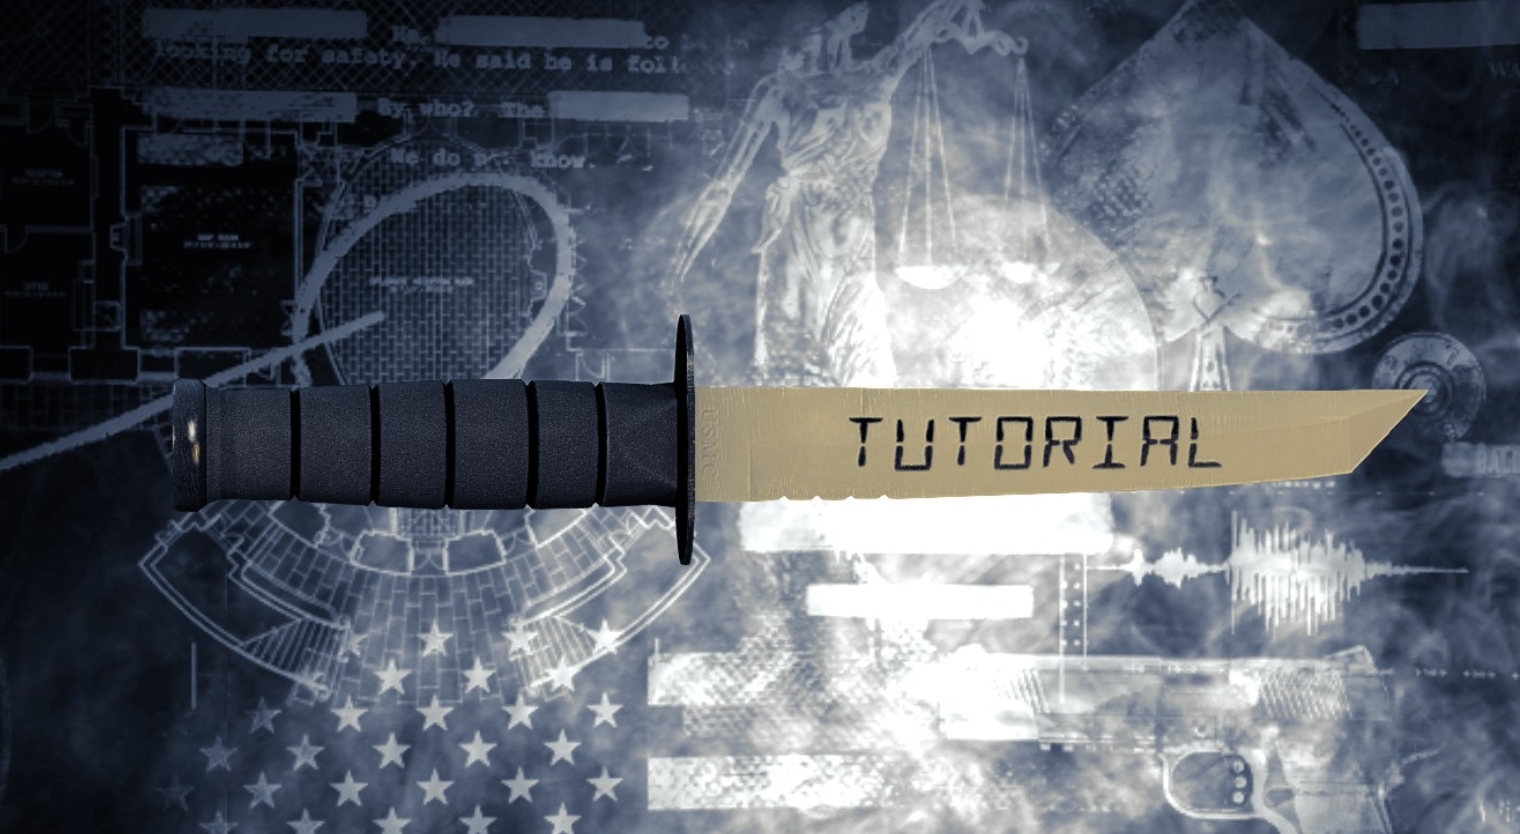
When you're finished you will be able to see the design ingame. If you want to make changes, simply head back into Photoshop/GIMP and modify the texture, save it again and replace the old one.
· Sharing the design
You can share the design in this exact same site.
Copy the folder customfoldername (the folder where your retexture is) and place it in a compressed file like WinRar or 7zip.
Create an account if you don't have one (you can use your steam account)
Click "Upload a Mod" in the top left corner and simply fill up the fields. This process is pretty much self explanatory.
On the tab Files & Images you can upload the compressed file for downloading and preview images for other users to see.
Click on "Save" and the retexture will be published.
I hope this tutorial helped everyone who wanted to learn how to make retextures and share them, dont be afraid to ask anything! Also excuse me if I did some misspelling, english isnt my first language. Don't forget to check some of my artwork and have a good day!
this is a nice guide!
may I suggest you put this as well on a more fitting place, like Modworkshop Wiki?
the link to Wiki is also accessible on the top bar on this site
https://wiki.modworkshop.net/