Payday 2: How to open the default normal map textures in Photoshop for editing
Please note when you open them in photoshop it will open with a black texture if this is not done.
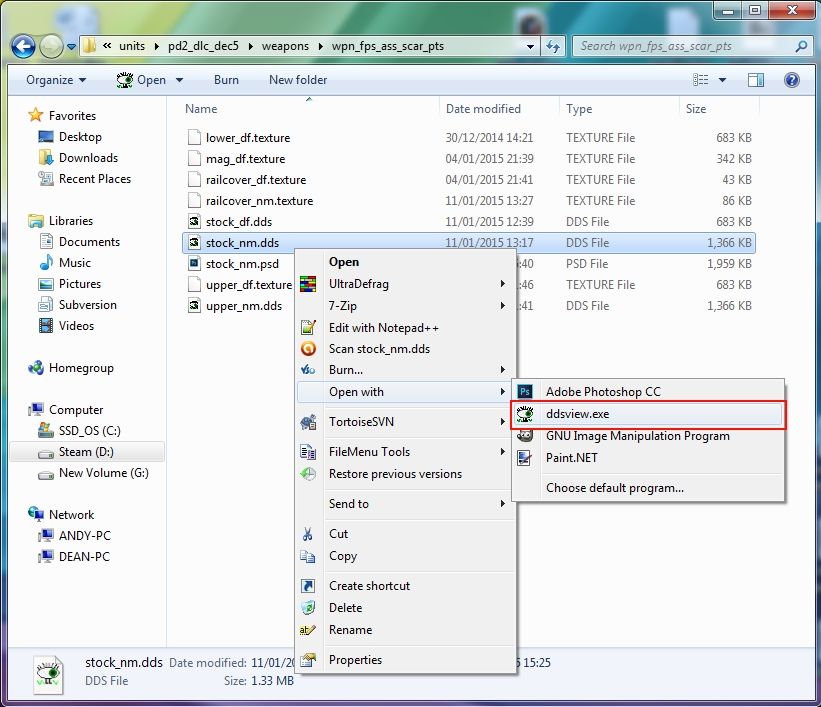
Ok, the first thing you will need is ddsview as Photoshop by default won't open up the dds formats when you simply change the file from .texture to .dds and it's difficult (or I find it difficult) to edit normal maps in GIMP: Site, Download
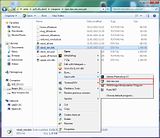
- Now changing the extension from .texture to .dds on the file you wish to edit.
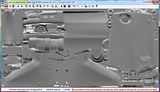
- Now open the file you wish to edit using ddsview:
- In the top left corner click save as:
- Choose to save it as a .psd:
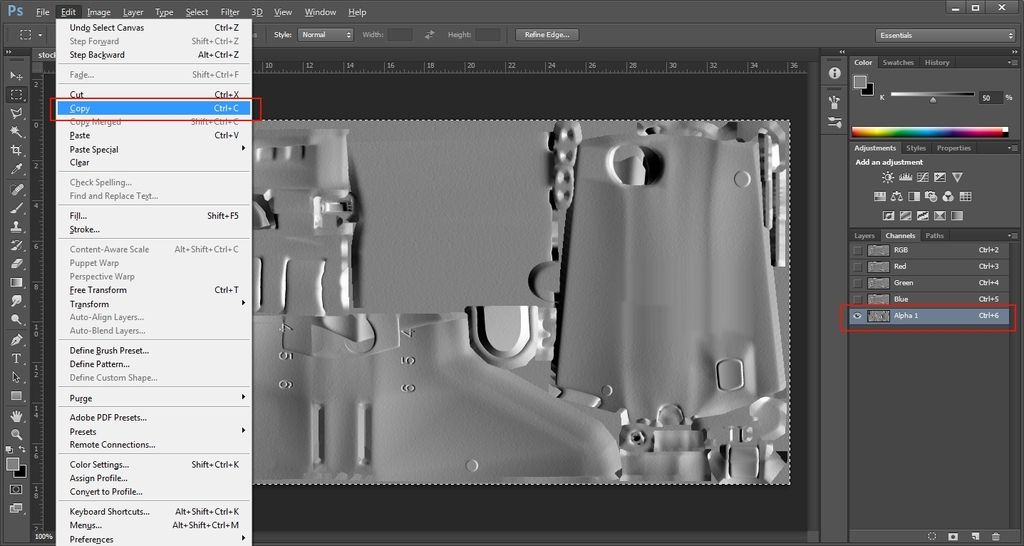
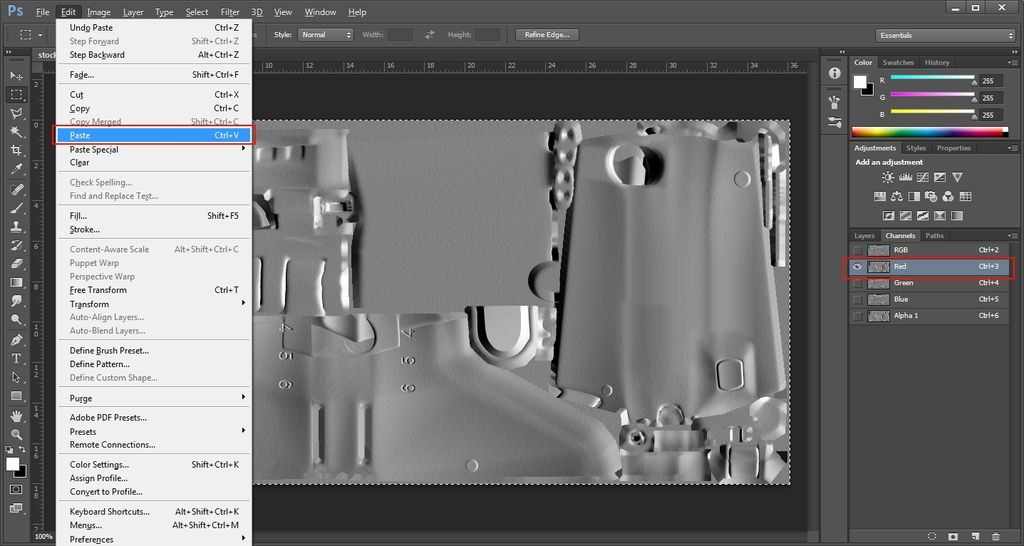
- Open it with Photoshop and go onto channels, then copy the alpha channel which is the Red/X axis of the normal map:
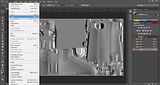
- Paste this channel onto the Red Channel like so:

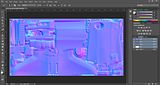
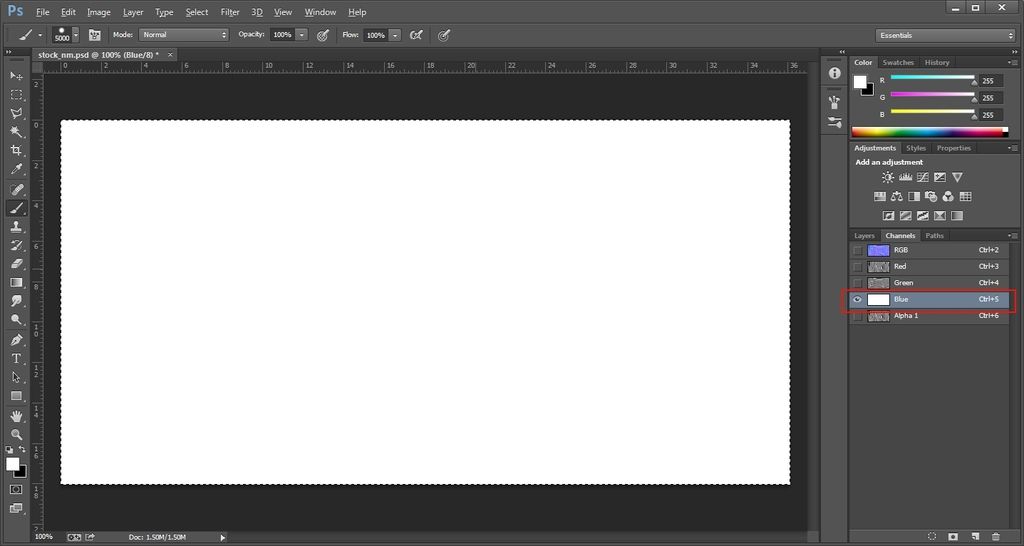
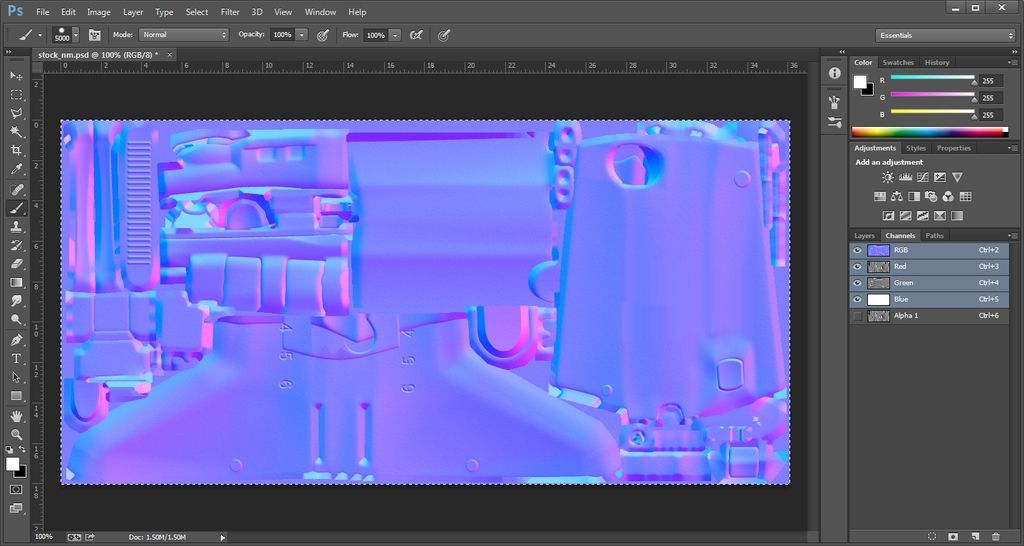
- Paint the blue channel white and you will have a standard X/Y tangent space normal bump map without the Z height:
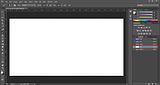
- This will allow you to edit the normal map the same as any other normal map:
- To re-save the file you:
- Copy the new Red channel onto the Alpha channel.
- Copy the new Green channel onto the Red & Blue channel.
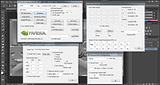
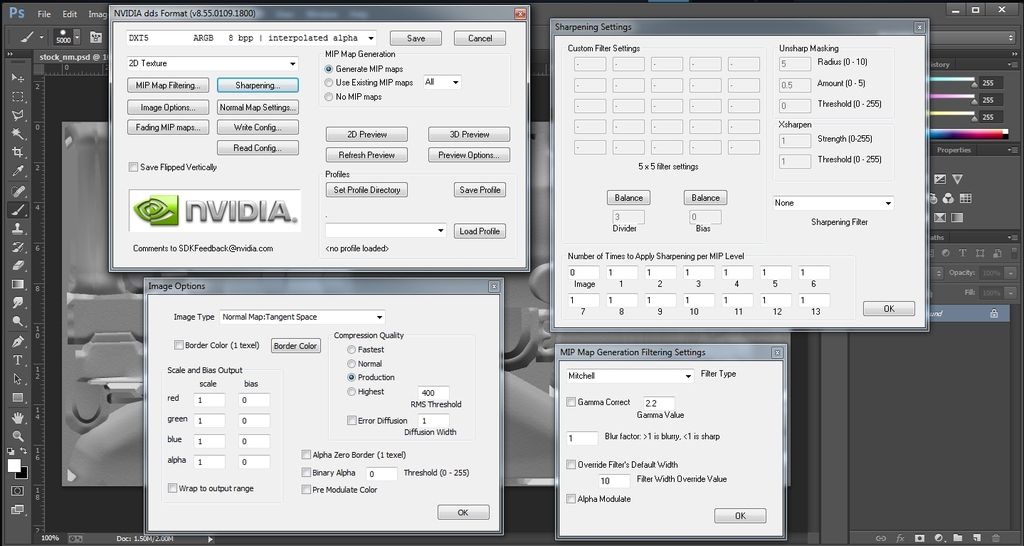
- Save the texture under the following settings to prevent distortion:
- Rename the extension of the new file to .texture from .dds.

That should be it :)
Any problems, any disputes about if it works or not, yell at me and I will amend it.
My original workshop item from January: http://steamcommunity.com/sharedfiles/filedetails/?id=374532416
Replies
What is those following settings?
your images are dead.